Showing posts with label home cook. Show all posts

Monday, September 12, 2016

Cooking Class Part 3


I went to the last cooking class in the three-part series where we learned advanced techniques. The first class in this series review basic techniques. The second class in this series focused on building on the basics.
In the advanced technique cooking class, we made three dishes. The first dish was vanilla bean panna cotta. The second dish was marinated steak with green olive tapenade. The third dish was spaghetti carbonara. And, the final dish was tomato and goat cheese grilled flat breads. This is the order we prepared the dishes, so they would be ready to eat. Spoiler alert; everything was yummy. Let's start at the beginning.

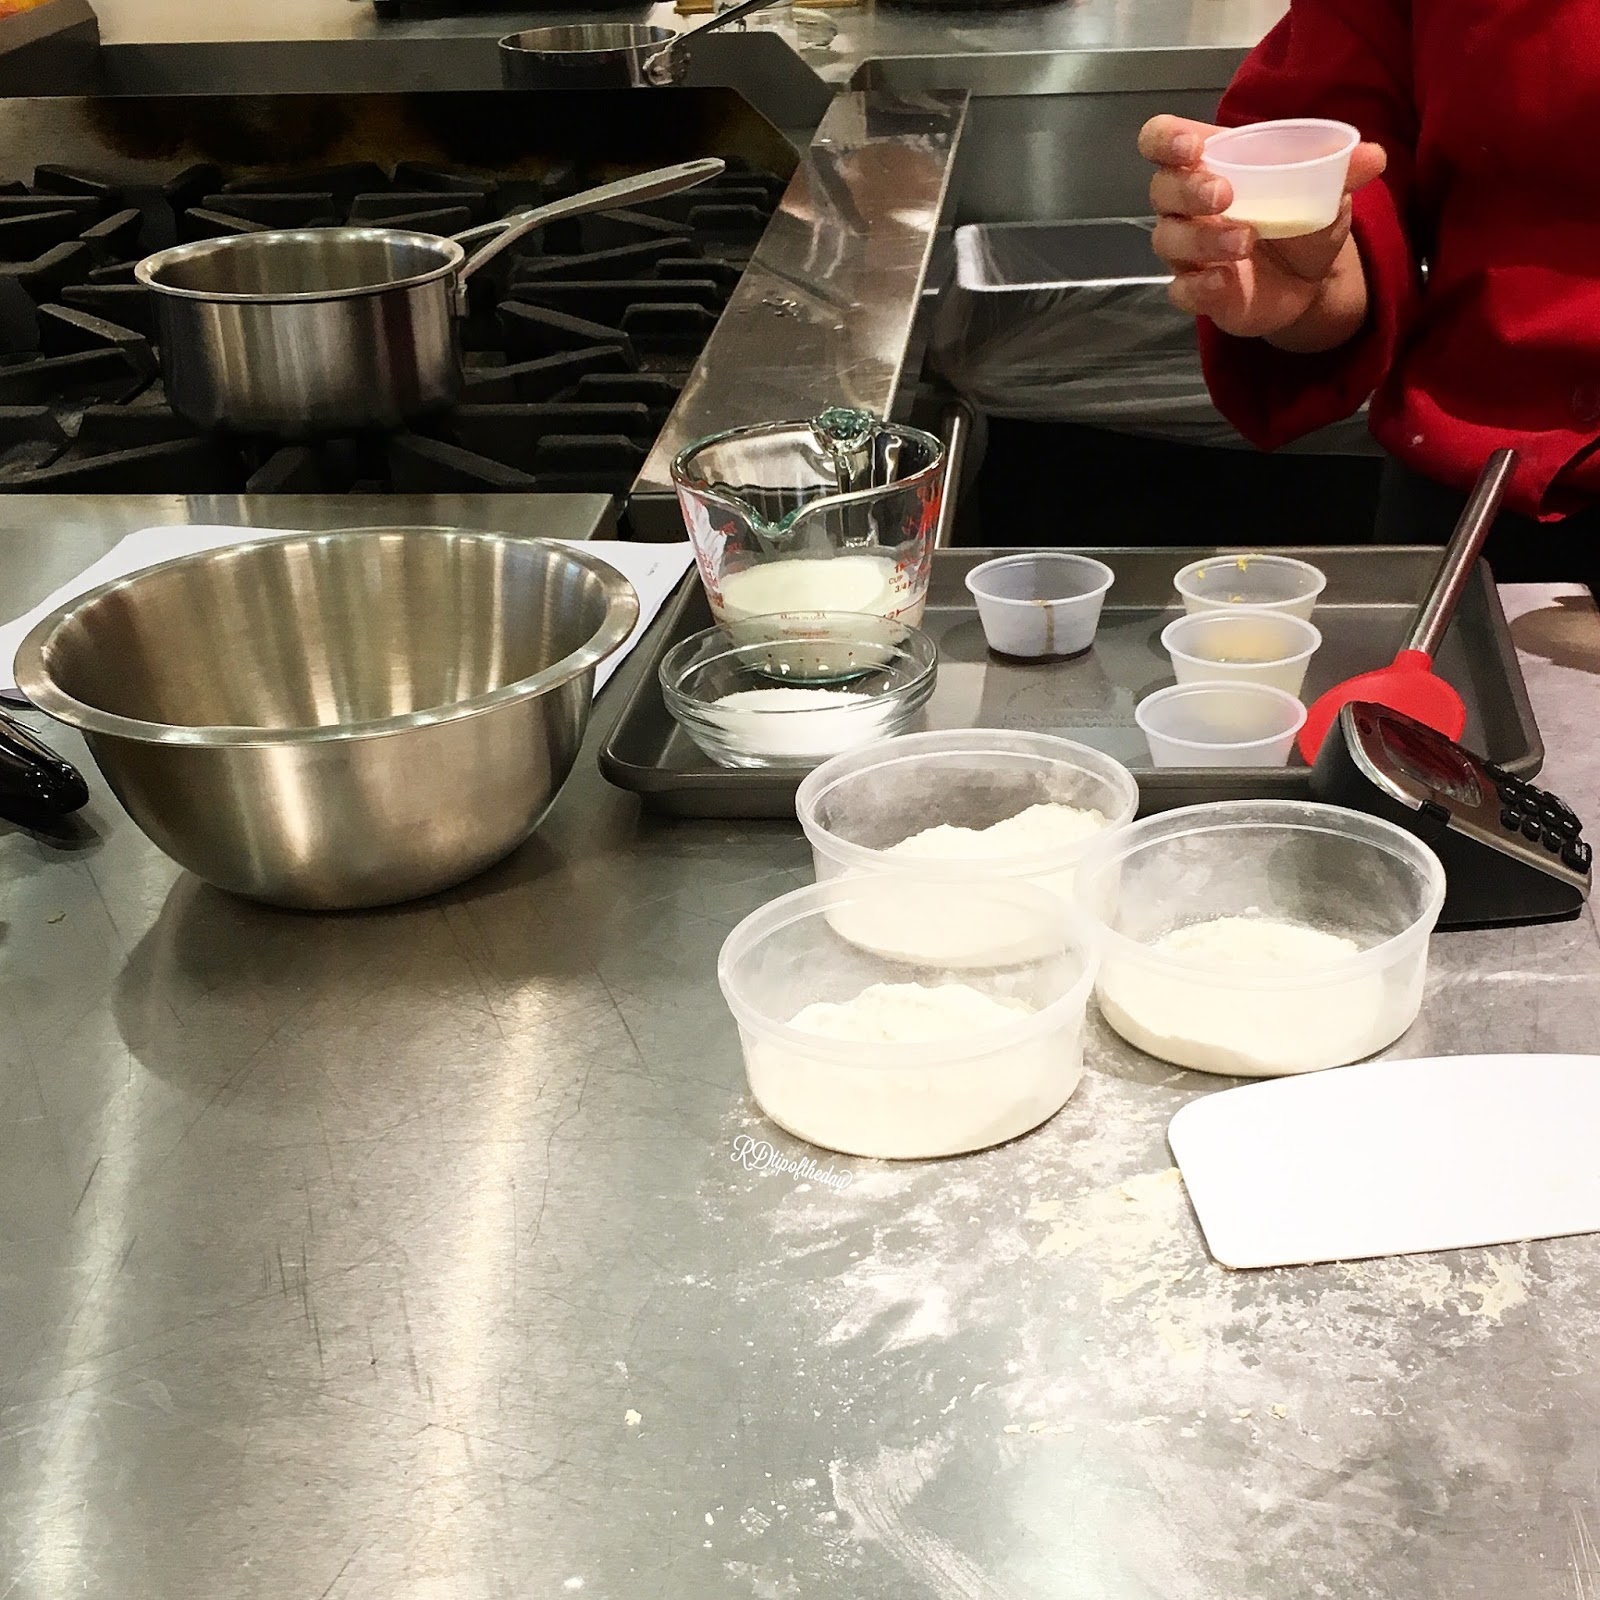
The first dish we made was vanilla bean panna cotta. We measured everything and prepared our mis en place. 


Then, we made combined everything to make vanilla bean panna cotta. Panna cotta is Italian for cooked cream. It is thickened with gelatin, and it's super creamy. If you can stir, you can make panna cotta. Don't let the name scare you off.  I think of it as a delicious grown up gelatin pudding. Ours was topped with fresh, seasonal fruit. 


The second dish was marinated steak with green olive tapenade. We marinated the steak in garlic, red pepper, rosemary, time, and lemon juice and zest. All the flavors came through in a flavorful steak. The lemon and olive tapenade brightened the steak and kept it from being heavy.


The olive tapenade was a simple to make. You roast garlic, which turns garlic cloves into softened, flavor powerhouses. The tapenade was simple to make. You toss pitted green olives, capers, anchovies, lemon zest, vinegar, lemon, basil, roasted garlic, and olive oil into a food processor. Pulse until you form a paste. It's such a rich, bright, acid topping to balance the rich steak. 


The third dish was spaghetti carbonara.  We prepped everything, so we were ready to cook.


You start by crisping bacon and rendering the fat. Drain the cooked bacon on paper towels.  Drain all but 1-2 Tablespoons fat. Sautéed garlic and in rendered bacon fat. 


Boil pasta in salted water. We prepared the sauce by combining eggs, Parmesan cheese, parsley, and garlic. Drain the pasta. Combine pasta and sauce tossing constantly to cook the eggs without scrambling.


The final dish was tomato and goat cheese grilled flat breads. This was my favorite; I've made it a couple times at home. 


Start by making your dough. Boom your best in warm water and sugar. Add flour, salt, and oil. Mix until combined. Knead on a floured surface until the the dough springs back. Let dough rest in a greased bowl covered with cling wrap. Simple, right?


Next, prepare the topping. Chiffonade the basil, Slice the tomatoes. And, mix together room temperature goat cheese with fresh herbs. In class, we used parsley. I also like to use chives for a mild, onion bite. 


How gorgeous are these heirloom tomatoes?


Next, grill your flat bread on a greased grill pan or on the grill.


Flip after a few minutes when the bread has golden brown grill marks.Top with goat cheese, tomatoes, salt, pepper, and basil. Enjoy!


Looks delicious right? I thought this flatbread certainly couldn't be more tasty. 


Then, you add aged balsamic vinegar. It was a sweet, slightly acidic syrup that was the perfect addition to this flatbread. I will warn you that it's expensive: $30/bottle. You don't have to use a lot to make a difference, so the bottle will last you a while. If you like balsamic vinegar, try aged balsamic. So good!


I made a balsamic reduction at home. To make my reduced balsamic, combine 1/2 cup of balsamic vinegar with 1/2 teaspoon granulated sugar. Reduce over medium heat until the balsamic becomes a thick, syrupy consistency. So good!


I encourage you to try something new. Invite a friend. Learn something new. Don't be afraid to try a new recipe, and taste something new! That's it for cooking with class part two.

For more recipes, encouragement, and tips for healthy eating, follow me on PinterestInstagram, and Twitter

SaveSave
SaveSaveSaveSaveSaveSaveSaveSaveSaveSave
SaveSaveSaveSaveSaveSave

Tuesday, August 9, 2016

Cooking Class Series: Part 1

I took my third cooking class this weekend. It is a three-part series, so stay tune for the other two classes. Today, we made three dishes. The first dish was a Summer vegetable ratatouille. The second dish was a vanilla bean soufflé with strawberry sauce. The third dish was pan-roasted chicken with lemon and rosemary. All the dishes were scrumptious. Let's start at the beginning.


The first dish we made was Summer vegetable ratatouille. We practiced our knife skills and proper hold of the knife to prepare all the veggies in the dish. We learned to make things the are spherical flat first. Then, you make sticks. Then, cut the opposite direction to make cubes. This technique was super helpful to get all the vegetables about the same size. Having food cut to the same size helps everything cook at similar rates, so the vegetables are done at the same time. Our group divided and conquered dicing eggplant, onion, red bell pepper, zucchini, tomatoes. We mince garlic cloves and chiffonade the basil.


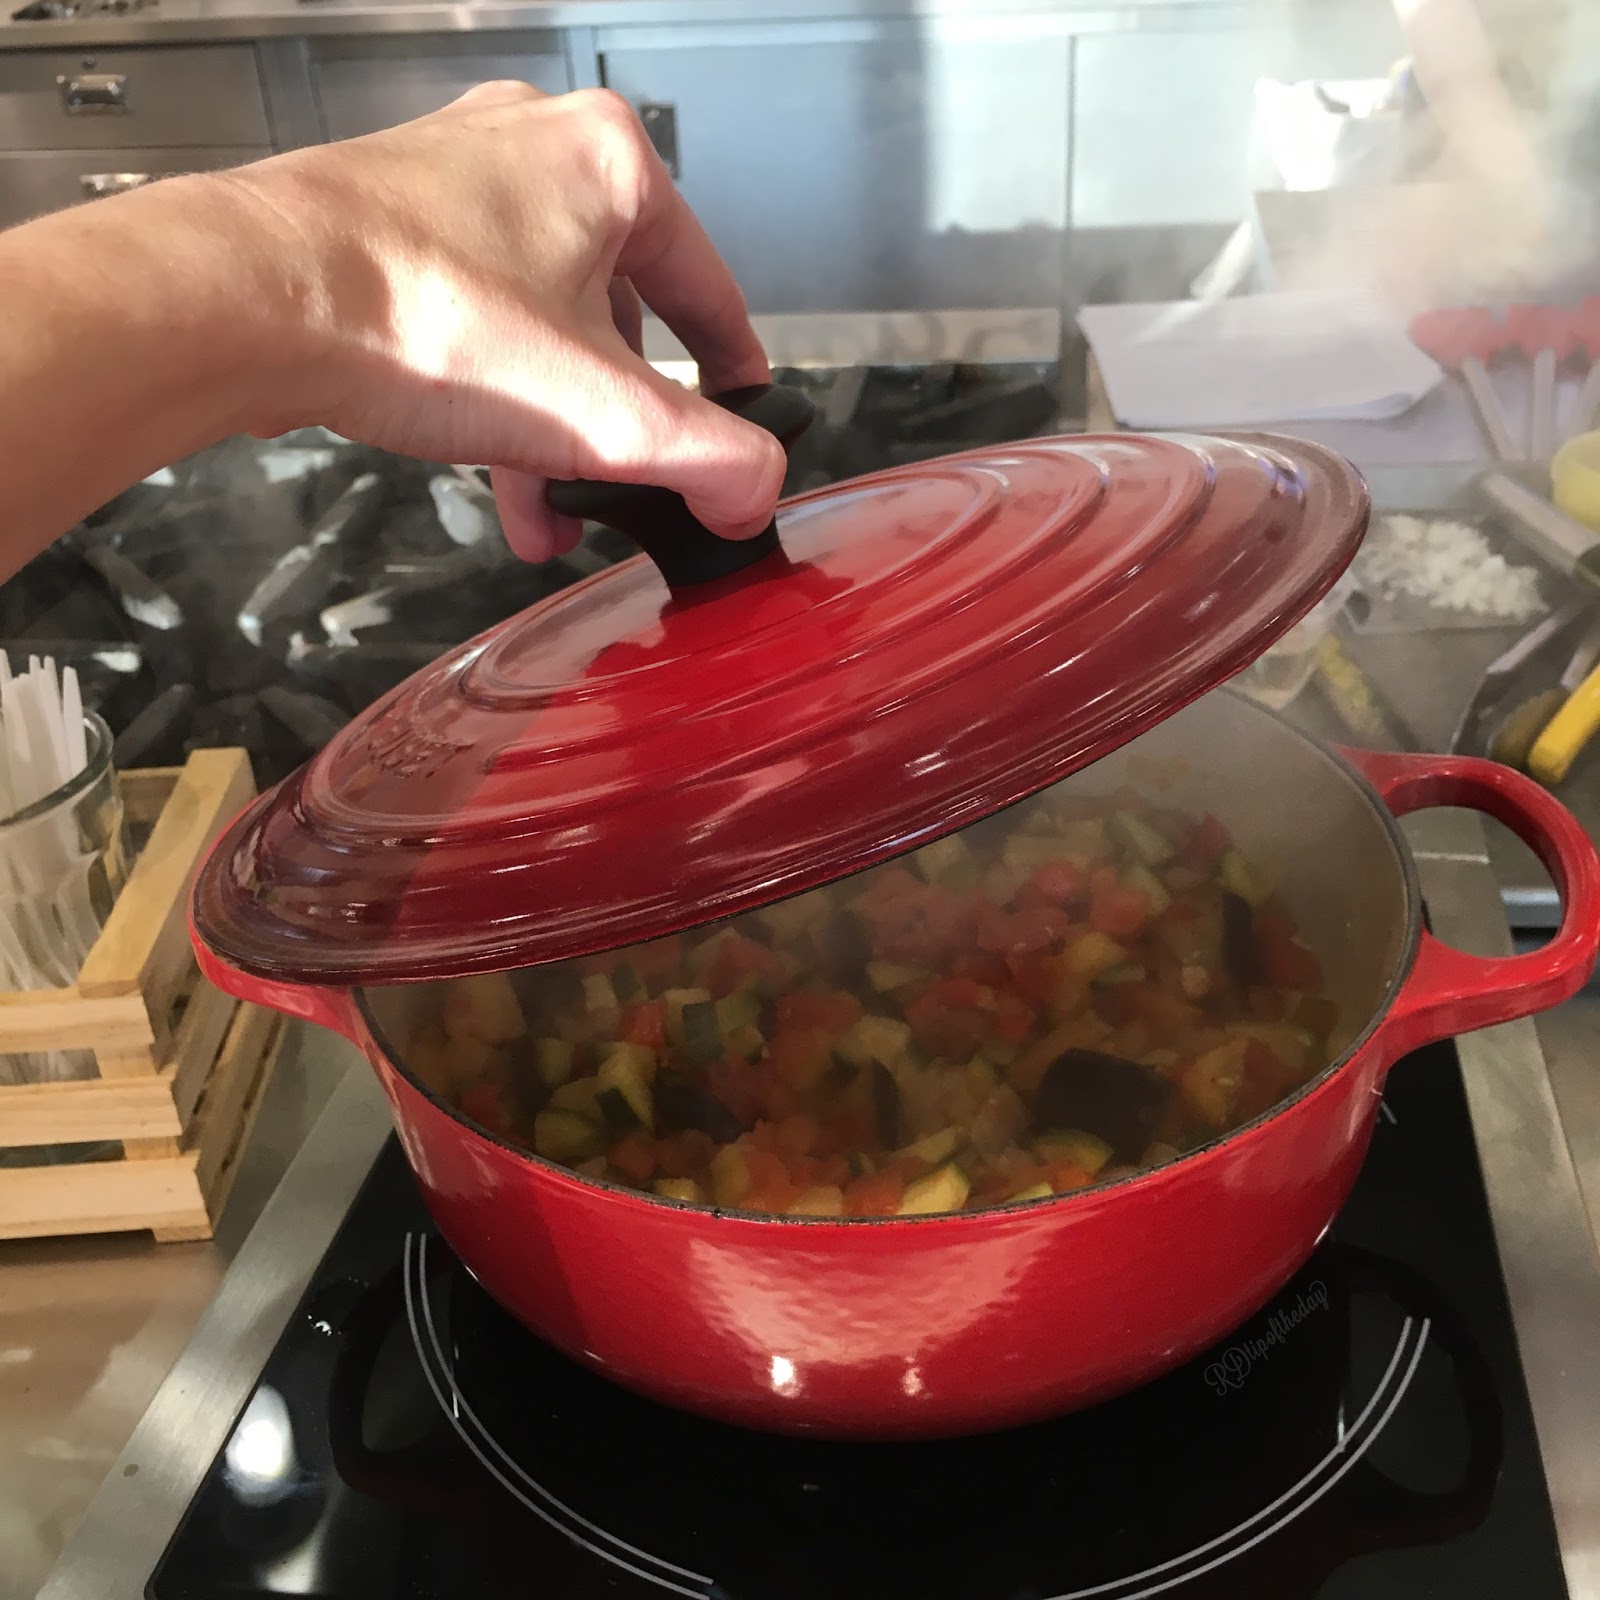
Start by heating your Dutch oven with oil until shimmery. Sauté all the vegetables, starting with the vegetable that takes the longest to cook. In our case, that is the eggplant. Sauté all veggies until browned. Let everything stew while you're preparing the rest of the meal.


Top with Parmesan cheese before serving and enjoy!

The second dish was la vanilla bean shuffle with strawberry sauce.  I was especially excited to try this dish because it seems a bit intimidating. Ours was delicious!


Start by getting all your ingredients measured and assembled. This is also know as mis en place. Then, separate your egg whites from egg yolks. We used the three-bowl technique for separating eggs. It's a little messy, but it's cheap and easy. 

You start with three empty containers. Crack the egg into bowl 1. Use your hand to grab the yolk. Let the white run through you fingers. Put the egg yolk in bowl 2. Pour the egg whites in bowl 3. Begin the process again until you've separated all the eggs.

Heat butter, flour and milk in a saucepan. It's like making a roux. You melt the butter, whisk in flour and slowly add milk. Then, flavor your soufflé base. We used sugar, vanilla, and salt.  Let the mixture you before whisking in yolks. Let mixture cool.


Next, whisk the egg whites in a stand mixer to get stiff peaks. Fold the egg whites into the soufflé base.  Start with 1/3 of the egg whites. Fold in the remainder of the egg whites in 2 batches. You're almost there!


Prepare ramekins for the batter by greasing with butter and dusting with granulated sugar. Pour a little sugar into the dish and rotated around until it is covered with sugar. Poor off the excess.

Scoop the batter into ramekins.  I like to use an ice cream scoop to help portion. It's neater and more precise than using a kitchen spoon. Then, level the soufflé with a spatula. Run your finger around the edge of the ramekin to chat a moat around the edge. This helps the soufflé rise. 

Place the soufflé in the oven until full risen and golden brown.


We prepared a strawberry sauce to top the soufflé. I preferred the soufflé on it's own; you can really taste the vanilla bean.


The third dish was pan-roasted chicken with lemon and rosemary.  We made the entree while the soufflé were cooking. Prepare your ingredients. Mince shallot, garlic clove, and rosemary. Zest a lemon and juice it. Set butter out. Measure whine and low sodium chicken broth.

Bring chicken to room temperature while still maintaining food safety. Dry the chicken. Start by heating your pan with oil until shimmery. This turns the pan into more of a nonstick pan.


Brown the on both sides. Then, finish the chicken in the oven on a sheet tray topped with an oven-safe baking rack. How do we know when the chicken is cooked?

Insert oven-safe thermometer. Set to 180*F.  When the thermometer reaches 180*F, the chicken is fully cooked. Tent the chicken with aluminum foil and let rest while you prepare the pan sauce. 

Drain the majority of oil from the pan that you seared the chicken in. Don't wash it out! We want to make use of the fond. Fond, what's that? Fond is the culinary term for the caramelized brown bits on the bottom of the pan. It's french for 'background, depth, or bottom." You can think of it as the basis for our pan sauce. 

To make the pan sauce, turn the heat to medium and add butter. Sauté garlic and butter until softened. Deglaze the pan with wine. Let the liquid concentrate by reducing by half. Add chicken broth and flavorings. We used rosemary and lemon zest. Use a wooden spoon to scrape the fond or caramelized bits off the bottom of the pan. Turn of the heat. Add remaining butter. This is called "mounting" a sauce. Mounting a sauce is adding chilled butter. Slowly add the butter and stir to emulsify the sauce. 


All the recipes were super simple to make because all the ingredients were prepped and ready. Many chefs use this technique called mis en place. This is a french term that translates to "put in place."  We measured all the ingredients for each dish and had them ready to go before we started the cooking process. Preparing your mis en place is something every cook can do to make cooking easier. Prepare you meal like the recipe reads. You measure and chop, dice, slice all the ingredients. Preheat ovens or pans. After the preparation is done, now it's time to cook. Try this technique at home to make cooking easier!


I highly recommend taking a cooking class if you want to learn a new skill or try a new recipe. My favorite aspects of this cooking class were:

1) Getting hands-on experience learning a new skill.

2) Recipe preparation and clean up was completed by the staff. No dishes! 

3) Tasting new recipes and trying new foods.

I encourage you to try something new. I don't know if I would have tried to make a soufflé by myself. But, it was simple and successful in class with the help of the chef and sous chefs. Don't be afraid to try a new recipe, and taste something new!


For more recipes, encouragement, and tips for healthy eating, follow me on PinterestInstagram, and Twitter

SaveSaveSaveSaveSaveSaveSaveSaveSaveSaveSaveSave
SaveSave

Tuesday, April 14, 2015

Healthy RD Challenge: Day 7

How are you doing with the #HealthyRD Challenge? I hope you are doing well! 

What is the Healthy RD Challenge?
This is my challenge for each of us to take one step a day on the road to being healthier . . . the healthy road or #HealthyRD if you will. If you participate in the #HealthyRD challenge, make sure you use the hashtag #HealthyRD and tag or tweet me, @RDtipoftheday, for a chance to be featured! I am sharing the five healthy choices I'm making each day this week.  Here's a reminder of what I did for the Healthy RD Challenge last week: Day 1Day 2Day 3Day 4Day 5, and Day 6. Check out the links to get ideas on living a healthier lifestyle.

Healthy RD Challenge: Day 7
Yesterday, I cooked dinner at home, which is my #HealthyRD Day 7 healthy choice. I
enjoy cooking at home. When you cook at home, you have a lot more control in what you eat. You choose the ingredients. You choose the portion size. And, this can be extremely helpful for weight management. You know what ingredients you selected to cook. And, you know how much you want to eat and can choose appropriate portions for yourself.

Don't get me wrong. You can make healthy choices when you eat out. But, you definitely have more control of your food when you cook them yourself. Also, you can save a ton of money when you cook at home. Restaurants charge you for the food, service, and many other things that add up to an increased cost to you.

I find that cooking is one of my creative outlets, which is an added benefit of cooking at home. I think it amazing how you can combine flavors to complement one another, make things taste better, and eat things you normally wouldn't otherwise. For example, I don't know anyone who would sit down to eat 2 tablespoons of butter or olive oil, 2 tablespoons of raw flour, and 1/2 cup chicken stock. But if you cook those ingredients together, you get a beautiful roux. A roux is a the base for a sauce, soup, or etoufee.


So, you can make healthy choices when you cook for yourself or when you choose to eat away from the home. How will you choose to be healthy today?

Check with your personal RD or MD before starting a new diet or exercise program to make sure it is healthy, safe, and the right choice for you.


For more recipes, encouragement, and tips for healthy eating, follow me on PinterestInstagram, and Twitter . You can subscribe to this blog, RDtipoftheday.blogspot.com, through BlogLovin.


If you enjoyed this post, you might enjoy: