Showing posts with label entertaining. Show all posts

Tuesday, July 24, 2018

Vegetable and Cheese Board

When you think about entertaining, how do you feel? Are you excited, nervous, anxious, tired? Entertaining can be all of those things, but it doesn't have to be. Entertaining can be fun, easy, and enjoyable. To help make hosting easier, I'm sharing an easy appetizer. It's a vegetable tray with some cheese. It's friendly and not fussy.


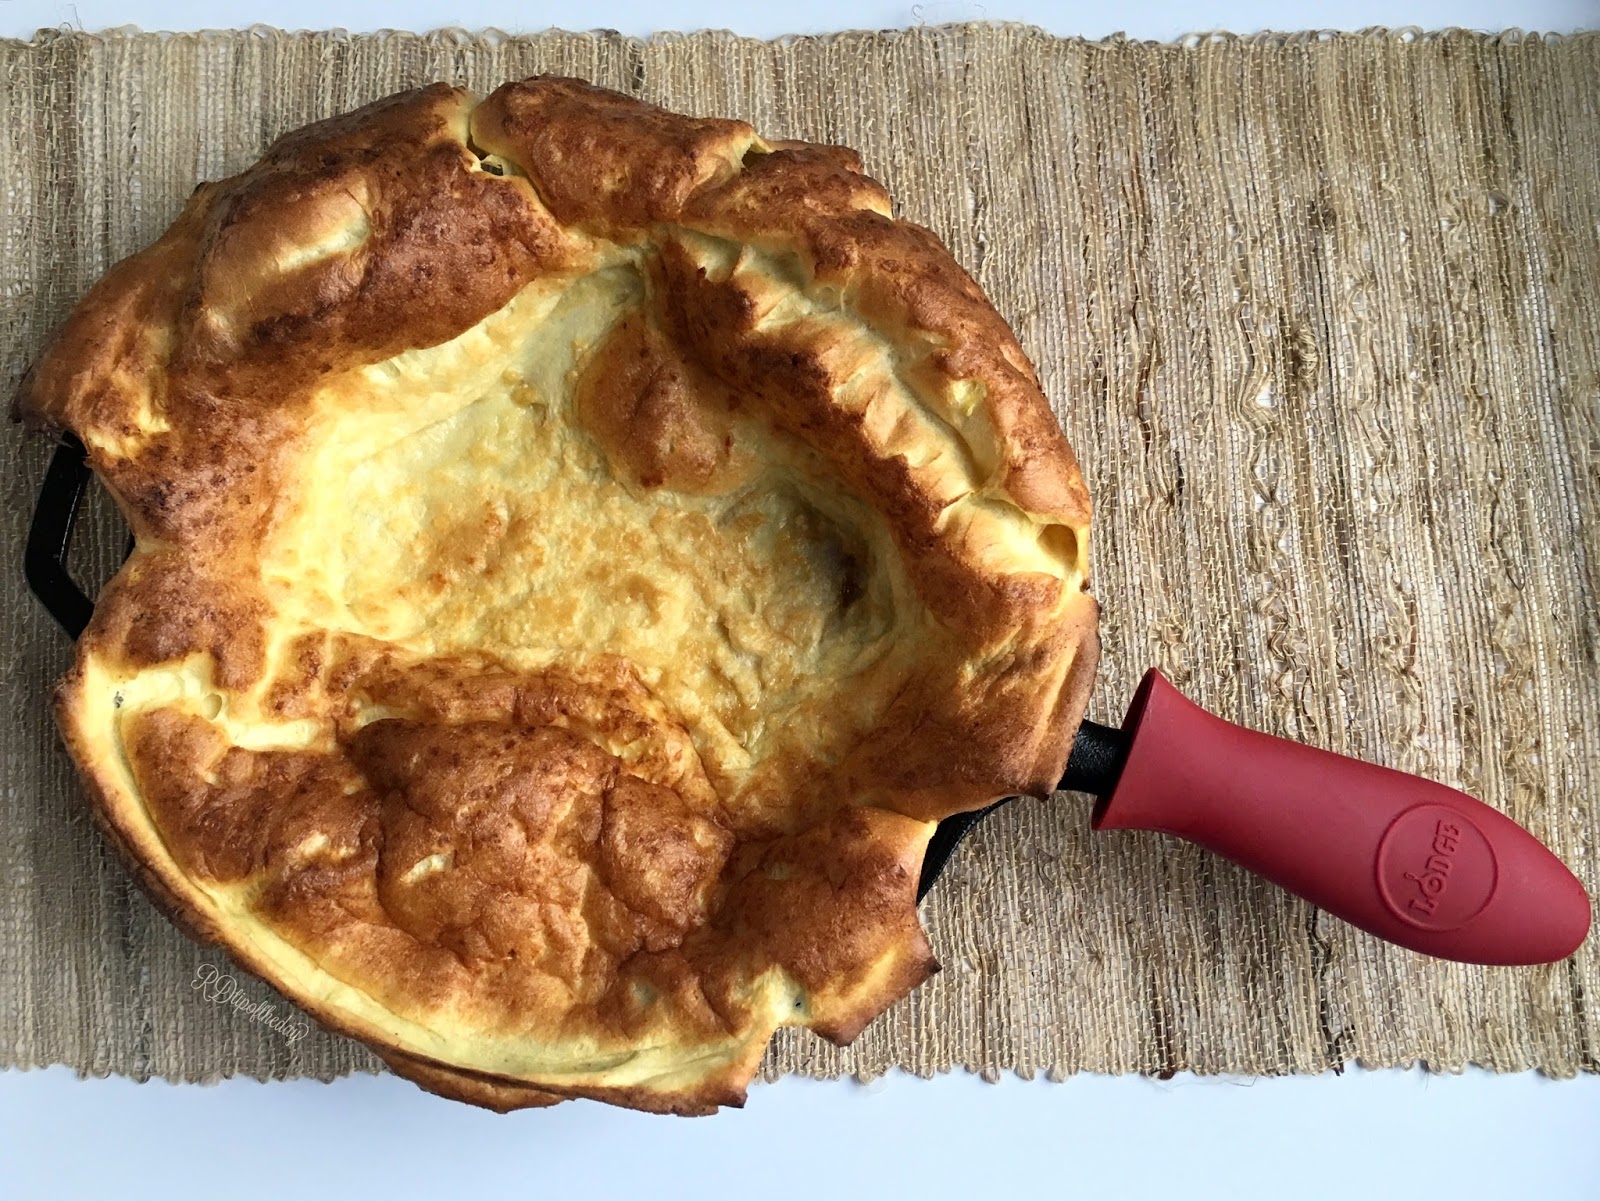
I love having an appetizer ready for guests. It gives them something to munch on if they're hungry before dinner is ready. It also gives me a buffer if dinner is running late. It means that my guests aren't starving and smelling dinner.


This appetizer is super simple. It's 4 steps: wash, dry, chop, arrange. I like to include seasonal fruits and vegetables. For one, they are local, which means fresher because they weren't shipped far. Secondly, they tend to taste best in season. Fruit is sweeter, and veggies are crisp.


Adding fruits and vegetables to your cheese boards has several benefits. First, fruits and vegetables are nutrient-dense. In other words, they have a ton of vitamins and minerals. So, they're super tasty and great for your health! Secondly, fruits and vegetables tend to be more economical (read less expensive) than cheese. So, you can make a huge fruit, veggie, and cheese board for a fraction of the cost of a cheese board. Third, I love the colors and textures that fruits and veggies add to a cheese board. Visually, there's more interest and I find it more aesthetically pleasing. So in summary, fruit and veggie cheese boards are good for you, good for your budge, and visually pleasing.


If you've ever felt nervous about hosting, here are a few tips.

5 Tips for Low-Stress Hosting 


1) You're hosting not entertaining.
These two terms, host versus entertain, make a world of difference. To me, an entertainer sets a stage and has a flawless performance. A host offers a place to come and gather. An entertainer has the focus on the performance. In contrast, a host gets to welcome and offer a safe space for people to gather, be themselves, and enjoy community.

2) Consider your guest's preferences.
Sometimes the barrier to having guests is the fear of not knowing what to make. So ask! I like to give 2-3 options that way guests have input on the meal.

Also, I think it's important to ask about food allergies. You can also ask if people have any foods they hate.

3) Prep ahead.
I am a planner, type A kind of person. I feel stressed when things are left to the last minute. I don't like to procrastinate. To help me keep my sanity, I like to prep ahead as much as possible. This looks like, menu planning. I try to clean a day or two before the party. I try to have some parts of the meal or appetizer ready to go.

4) Make easy meals.
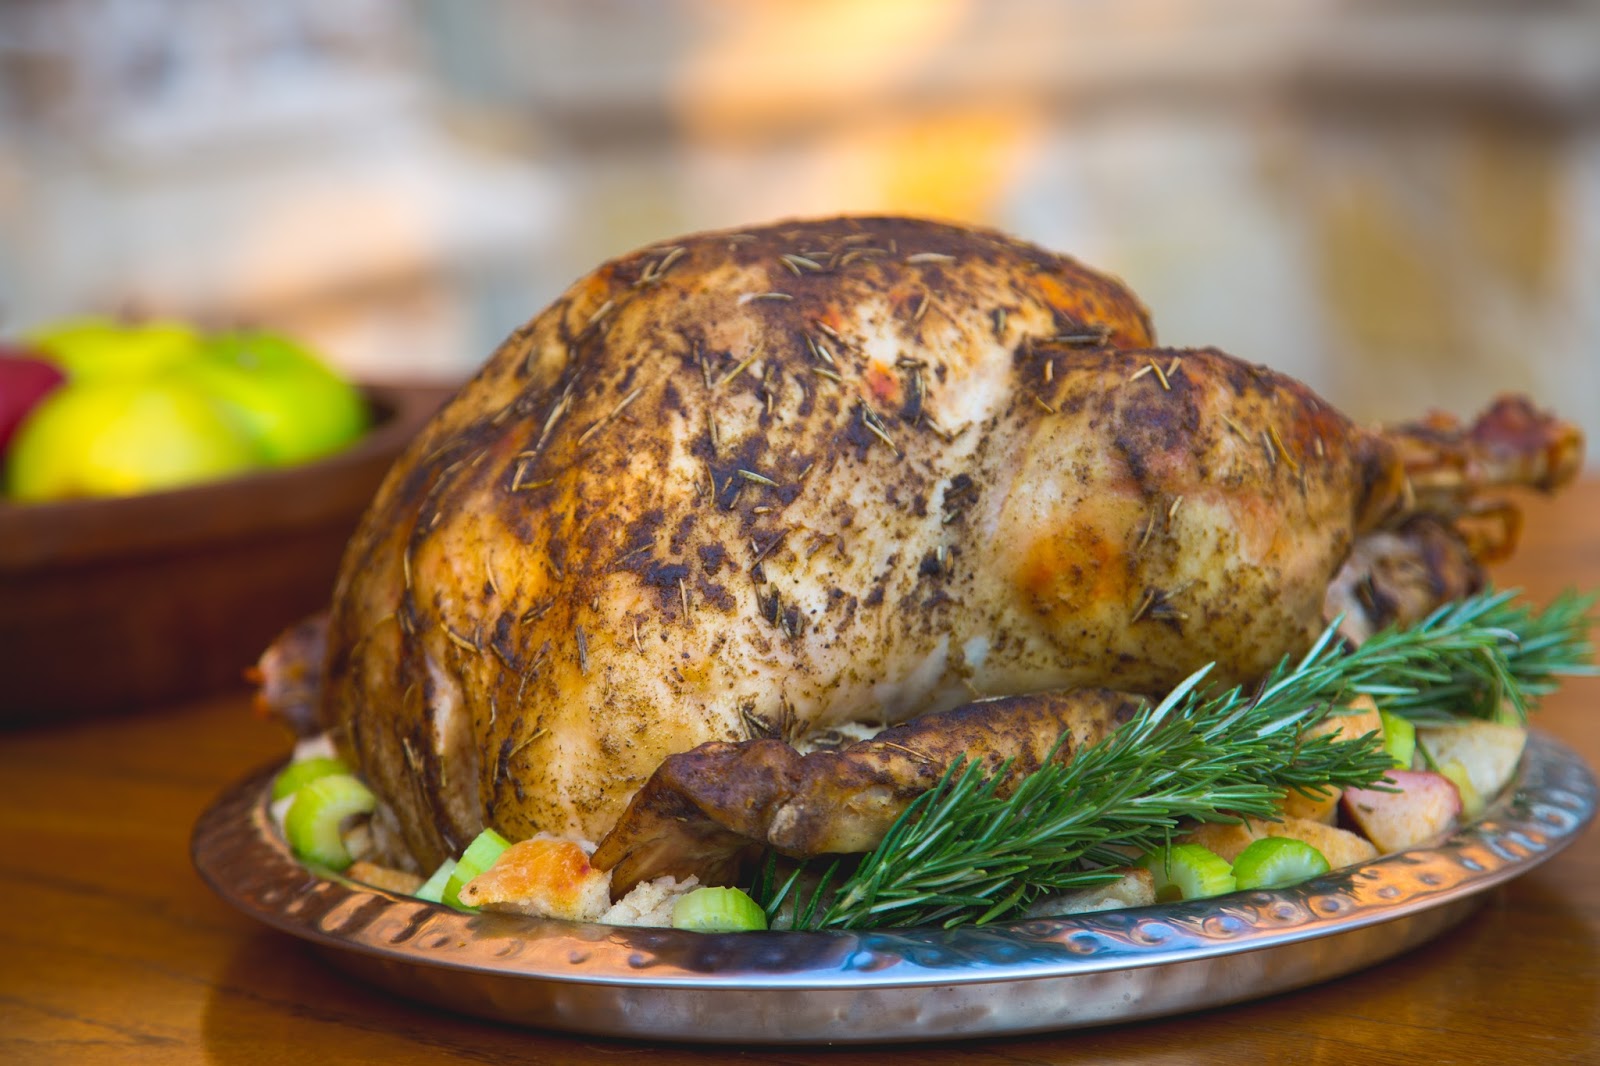
I encourage you to make easy meals. Make familiar meals; make something you've cooked before. I wouldn't try a new recipe or challenging dish when I host. It just increases anxiety. What if the dish doesn't turn out right? What if it tastes bad? Instead of worrying, cook a go-to, tried and true, tasty meal.

5) Ask for help.
You don't need to be a one woman show. Ask guests to bring something. Or if you're the guest, ask if you can bring something.

What dinners work well? Try a pot luck. Host a taco night - make the entrée. Have a guest bring an appetizer - chips and dip. Encourage someone else to bring a side or dessert. In the Fall and Winter, I love a baked potato bar with fixings. Or, try soups and sandwiches. Also, there's no judgment here for ordering pizza. Who doesn't like pizza?

Try a cooking club. Have people over to cook and then eat together. That sounds so fun! Don't feel like you have to do everything.


Have you ever thought about hosting versus entertaining?
What keeps you from hosting more? 
What motivates you to host?
What are your go-to recipes to make for company?
I would love to hear your thoughts in the comments below.


For more tips, encouragement, and recipes for a healthy lifestyle, you can follow me on FacebookPinterestInstagram, and Twitter


If you liked this post, you might enjoy:


Monday, January 29, 2018

Muffuletta Sliders

Do you ever crave something from home? Maybe you're a little homesick or you just have a craving for something familiar?

This happened to me a few weeks ago. The cold, winter weather was making me miss home, which is Louisiana. So, I decided to whip up a Louisiana-inspired dish, mini muffulettas. So delicious, and so cute!


If you're not familiar with muffulettas, they're a flavorful Louisiana sandwich. Traditionally they have a mix of cold cuts (usually salami, ham, capicola), cheese, and a yummy olive salad. The prominent identifying element of a muffuletta is the olive salad. It's a super flavorful mix of olives, aromatic vegetables, Cajun spices, and olive oil. So good!

Here's the recipe.

Ingredients
12 Hawaiian rolls
24 slices ham
6 slices provolone cheese, cut in half
6 slices mozzarella cheese, cut in half

Olive mix
1 Tablespoon olive oil
¼ cup onions, chopped
¼ cup celery, sliced thinly
18 black olives
18 green olives (I like castelvertrano.)
1 Tablespoon olive oil
1 teaspoon apple cider vinegar
8 dashes of hot sauce (I like Tabasco.)
⅛ teaspoon pepper
1/16 teaspoon salt

Sautee onions and celery in 1 Tablespoon olive oil until softening. Combine all ingredients in a small bowl. Toss to marinate. Set aside.

Topping
2 Tablespoons butter
1 Tablespoon worchestire sauce
⅛ teaspoon cajun seasoning (I like Tony Cashare’s.)
1 Tablespoon onion, minced

Combine all ingredients in a microwave-safe container. Microwave on low until butter is melted and onions are soft.

Assemble sandwiches. Cut sandwiches in half horizontally to creat a top and bottom bun. Spoon 1 Tablespoon olive mixture. Top with mozzarella, ham, provolone, and top bun. Continue with remaining sandwiches. Poor over topping. Cook for 15 minutes on 350*F. Enjoy!

This recipe is a great make-ahead meal. You can assemble the sandwiches and refrigerate overnight. It's even better when the olive salad gets to meld and soak into the sandwich.


If you're looking for more foods to entertain with, try these recipes:


(aka grown-up ham and cheese sandwiches)


If you like this post, you might enjoy:


Monday, February 20, 2017

Dutch Baby


I made my first Dutch baby. What's a Dutch baby? Let me back up. A Dutch baby is an impressive but surprisingly easy breakfast. It's like a cross between a crepe and a popover. It's almost like a giant pancake. However you describe it; it's delicious. Here's the recipe.


Ingredients
1 tablespoon canola oil
2 tablespoons butter
3 large eggs
1 teaspoon vanilla extract
zest of 1/2 lemon
3/4 cup skim milk
3/4 cup all-purpose flour
1/4 teaspoon salt
1/8 teaspoon baking soda

Toppings
Fruit
Powdered sugar

Equipment
Large mixing bowl
Microplane
Whisk
Measuring cups
Measuring spoons
Cast iron pan
Oven mitts

Preheat oven to 450*F. Add canola oil and butter to your cast iron pan. Allow cast iron pan to preheat in your oven for at least 10 minutes. 

Crack eggs into your mixing bowl. Mix the eggs well until they are a pale yellow. Add milk, vanilla extract, and lemon zest. Add your dry ingredients: flour, baking soda, and salt. Gently mix ingredients until incorporated. Let the mixture stand for 5 minutes.

Carefully remove cast iron pan from oven with oven mitts. Quickly pour the batter in the cast iron pan. And, put cast iron pan in the oven. 

Cook the Dutch baby for 15-17 minutes until puffed and golden brown.


I like to top the Dutch baby with whatever fruit I have in my kitchen. Today, I used some sweet strawberries. Then, I topped the Dutch baby with about 1/2 tablespoon of powdered sugar. It's a delicious and impressive breakfast. I hope you love it. Make it, and share it with someone you love!


If you enjoyed this post, you might enjoy:


Friday, February 3, 2017

Football Food for Entertaining

It's Super Bowl week! Americans love football, and football food is a big deal. So, I'm sharing some of my favorite foods for entertaining. These are great recipes to feed a crowd. Click on the recipes below to build a tasty and easy menu for the Super Bowl!


aka grown-up ham and cheese


Brownie Football Bites
mini brownies toped with cream cheese icing

These recipes are easy to make and are great for feeding a crowd. Each of these recipes makes food that is easy to eat; no utensils needed. Try these recipes. Invite friends over. And, enjoy!

If you enjoyed this post, you might enjoy:


Tuesday, November 22, 2016

Tips for Easy Entertaining

The holiday season is a time for celebrating and entertaining. Celebrations usually involve food of some kind. If you are entertaining, you don't want to be stressed. You want to be a successful host and enjoy the party. Here are some of my tips for easier entertaining.


If you are making a meal with multiple dishes, the preparation and cook times can be challenging. You are making multiple things with different cook times. Here are my tips to help make entertaining and cooking less stressful when entertaining.

RDtipoftheday Herbed Turkey

1) Make a plan. 
To make a plan for a successful dinner, assemble your recipes. Work backward to make a time line. For example, here's a plan for a 20-pound turkey.

Step 1: Defrost frozen turkey (about 20 pounds) in the refrigerator for 4-5 days before Thanksgiving.

Step 2: Brine or season the turkey over night.

Step 3: Cook the turkey for 20 minutes per pound (20 minutes x 20 pound turkey = 400 minutes or 6 hours and 40 minutes). The turkey will need about 25-30 minutes to rest after cooking to an internal temperature of 165*F. You will also need to allow time to carve the turkey. The oven may be open and shut to add extra items, so you would want to plan for the turkey needing about 7.5 hours to cook, rest, carve, and serve. If you have Thanksgiving lunch at noon, you would need to start cooking the turkey at 4:30 AM.


2) Prepare ahead.
Preparing ahead of time reduces stress. Set the table the night before if you're able. It's always nice to have something to cross off the to-do list.


Pick a simple appetizer or dessert that can be made ahead of time. Or, ask your guests to bring something. Pick up an appetizer from the store or make a fruit platter, cheese board, or vegetable platter.


Try making a turkey veggie tray with homemade hummus. The hummus can be made a few days before and refrigerated. The veggies can be washed, chopped, assembled and kept in refrigerator. You can have your kid chefs assemble the turkey. Extra hands make light work.


Try making a non-traditional dessert like my browned butter cereal treats. You can make it the day before and keep it sealed in an airtight container. These cereal treats are quick and easy to make. Kids and adults love them!

RDtipoftheday Glazed Carrots

3) Plan for extra.
This is a motto in my family. Knowing you have a little extra food prepared is nice for eliminating the mental stress caused by the question "did I make enough food?". It's also handy for the unexpected but welcome guests.  Also, who doesn't love leftovers?!?

RDtipoftheday Green Bean Bundles
4) Enjoy the party.
You've gathered your favorite people: your friends and family. You've prepped and prepared a delicious meal. Now, enjoy the party! A great host is relaxed and fully involved in the present. Have fun!

RDtipoftheday Tex Mex Deviled Eggs
To review, here are the four steps for successful entertaining.
1) Make a plan.
2) Prepare ahead.
3) Plan for extra.
4) Enjoy the party.

Stay tuned this week for leftover ideas to create new and delicious meals form your holiday leftovers. 

For more recipes, encouragement, and tips for healthy eating, follow me on PinterestInstagram, Twitter, and Facebook. 


Friday, November 18, 2016

Chicken Cordon Bleu Sliders

I love Fall! The crisp air, yummy food, football, tailgating, and holiday celebrations! There's something about holiday food. It's usually decadent and reserved for a few days out of the year. But, I've created this slider, which is a play on chicken cordon blue.

This is one of my favorite quick and easy meals to prepare because ham and cheese sandwiches were my favorite sandwich when I was a kid. These are more of a "grown up" ham and cheese with chicken, which is better known as chicken cordon bleu. These bring back a childhood favorite that kids and adult will enjoy. They're even better because they're bite sized. Could it get any better?


Chicken Cordon Bleu Sliders
Ingredients
12 potato rolls or Hawaiian rolls
1 pound chicken breasts, sliced
1/2 pound ham, sliced
1 pound provolone slices
1/2 teaspoon Tony Chachere's seasoning
1/2 teaspoon garlic, minced
1/2 teaspoon pepper
1/8 teaspoon chipotle Tabasco
1 Tablespoon Worcestershire   
1 Tablespoon butter, melted
1 Tablespoon parsley, minced


Directions
Preheat oven to 300* F.

Split rolls in half to make a top and bottom bun. Place the bottom rolls in a 9x13 pan.
Layer 2 slices chicken and 1 slice ham on each roll.  


Top with provolone. Add the top 'bun'. 


Mix parsley, Tabasco, Worcestershire, and garlic with melted butter. Drizzle butter on top of rolls. Toast sandwiches for 10-12 minutes until cheese is melted, and the sandwiches are warm and toasted. Enjoy!


I like pairing these mini sandwiches with hummus and vegetables or baked potato soup.

P.s. This would be a great sandwich to make with Thanksgiving or Christmas leftovers. My family always has a turkey and a ham on Thanksgiving and Christmas. So you could make turkey cordon blue sandwiches. Delicious!

My Jalapeño chicken sliders would also be great. Just substitute turkey for the chicken and enjoy those leftovers!


Let me know if there are any nutrition-related topics you would like me to cover. You can comment below or tag me on PinterestInstagram, and Twitter

If you liked this post, you may enjoy: