Friday, September 30, 2016

September Reader Favorites


Thank you for all of the love this month! September is one of my favorite months; it's starting to feel like Fall. This month, I've been preparing some fun recipes and post ideas for the holidays. This is a great creative outlet for me to share recipes, ideas, and my nutrition knowledge. Stay tuned for some of those pictures and recipes. 


If you missed any of the posts this month, here are the top favorite posts you visited in the month of September. Enjoy!


For more recipes, encouragement, and tips for healthy eating, follow me on PinterestInstagram, and Twitter


If you enjoyed this post, you might enjoy:


RDtipoftheday September Goals

As promised, I am sharing updates on my goals and 2016 resolutions each month. You can take a look at my 2016 goals and my thoughts on goals and resolutionsSharing these goals is a way to keep me accountable and help me to improve, grow, and learn. People who share their goals tend to be more successful. So, I'm sharing the goals here to encourage you and to keep me accountable. You're welcome to comment with your goals and share your progress as well. Feel free to tag your goals with #RDTODgoals or #healthyRD on social media.


2016 Goals
Try 30 new recipes. 
In September, I tried a few new recipes including:


  • Peanut butter banana muffins


  • Ravioli Lasagna


  • Chocolate cupcakes with peanut butter buttercream and chocolate hazelnut buttercream


For those keeping track, this makes my new recipe count 29 out of 30.

Build endurance and strength.
I'm still loving my strength class. I've added another day of cardio, and I'm glad to say I've been able to be consistent with physical activity. There are times where I get sick and can't go, but I know the benefits of physical activity. What keeps you motivated? Comment below.


Travel.
We made a quick trip through Arkansas to visit some friends.  We lived in AR for a few years, so it's was great visiting familiar places, relive memories, and see friends! It was a quick trip, so we couldn't see everyone. We also explored some new places and restaurants, which I loved! Stay tuned for some of my AR favorites. 


Can you see the quote in the picture above? It says "Pumpkin spice tacos are here! Just kidding." You know it's Fall when pumpkin spice appears, but I can not fathom a pumpkin spice taco. What do you think? Are you pro pumpkin spice everything or is a pumpkin spice taco too far?


Read more.
This month, I read Present over Perfect by Shauna Niequist. I enjoy this author very much. One of my friends is hosting a Brunch and Books discussion, which I'm greatly looking forward to! And, a couple of my friends and I are attending the Belong Conference, where she will be speaking.


For those keeping track, my book count is 7 in 2016.


These are my broad goals for 2016. What goals are you working on in 2016? Comment below.


For more recipes, encouragement, and tips for healthy eating, follow me on PinterestInstagram, and Twitter

If you enjoyed this post, you might enjoy:


Monday, September 26, 2016

Jalapeno Chicken Sliders

I love Fall! The crisp air, yummy food, football, and tailgating. There's something about tailgating food. It's usually decadent and reserved for game days. But, I've created a healthier twist on one of my husband's favorite game day foods.

This is my version of jalapeño poppers. Do y'all know what jalapeno poppers are? They are jalapeños stuffed with cream cheese, cheese, and wrapped in bacon.

I turned them into mini sandwiches, which makes the portion smaller. And, I choose lighter ingredients. Are you ready for some sliders?


Jalapeño Chicken Sliders
12 potato rolls or Hawaiian rolls
1/2 teaspoon Tony Chachere's seasoning
1/2 teaspoon garlic
1/2 teaspoon salt
1/2 teaspoon pepper
2 pounds chicken breasts
3 ounces reduced fat cream cheese, softened to room temperature
1 jalapeño, seeded and minced
1/8 teaspoon chipotle Tabasco
3 Tablespoons parsley, minced
1/2 cup 2% shredded mozzarella
1 Tablespoon butter, melted
1 Tablespoon parsley, minced

Preheat oven to 300* F. Season chicken with Tony Chachere, garlic, salt, and black pepper. Bake chicken at 300*F until internal temperature reaching 170*F.

In a large bowl, mix reduced fat cream cheese, jalapeno, chipotle Tabasco,  and 3 Tablespoons of parsley. Set aside.

Split rolls in half to create a top bun and a bottom bun. Place rolls in a 9x13 pan.

Let chicken cool 15-20 minutes. Then, shred. Add chicken to cream cheese mixture. Add chicken mixture to the rolls. Top with mozzarella. Add the top 'bun'. Mix 1 Tablespoon parsley with melted butter. Drizzle butter on top of rolls. Toast sandwiches for 7-10 minutes until the filling is warm and the bread is crisp. Enjoy!


I like pairing these mini sandwiches with hummus and vegetables or soup.


Let me know if there are any nutrition-related topics you would like me to cover. You can comment below or tag me on PinterestInstagram, and Twitter

If you liked this post, you may enjoy:


Monday, September 19, 2016

Cookie Decorating Class

I think it's important to always be learning. I love watching Food Network shows to learn about cooking. I think it's event better to take classes. So, I am taking out some cooking and baking classes. My first class was a pasta class. My second class was cake decorating. Then, I took a 3-part cooking class. This was my second dessert class to take. I took a cookie decorating class at a local bakery and baking store.


We had about 30 students in the class. There was one instructor and one helper. The instructor provided us with a packet that included the cookie recipe, royal icing instructions, and some basic decorating techniques. We learned how to decorate cookies using royal icing and fondant.


Here's our set up. The cookies are baked and cooled. The icing for outlining is in a bag with a small tip. The flooding icings are colored and in squeeze bottles. One of the cookies is iced, flooded, and dry, so we can add decorations. And, we had buttercream icing in an icing bag fitted with a star tip.


When decorating cookies, start by outlining your cookies with outlining icing.


I really like this technique we used for the cupcake liners on the cupcake cookies. Flood the cookie in alternating colors. Then use a toothpick or scribing tool and drag the icing int horizontal stripes to make the design. 


I practiced new techniques with buttercream icing. We learned a zigzag, star, and rosette techniques.


Combining this technique makes a visually interesting and yummy cookie.


We flooded the middle of a flower and used yellow nonpareils to decorate the center of the flower. 


Then, make dots around the flower to completely cover the cookie.


To make the sandal cookie, pipe border icing and flood with a light pink royal icing. Use edible markers to make a design on the sandal.


Pipe small circles and add a sugar decoration to complete the sandal.


This fish cookie was so quick and simple to decorate. Put two colors of flooding consistency royal icing into shallow plates. I used yellow and orange. Dip a sea sponge made for crafts into the icing and lightly sponge onto cookie. Start with the lighter color, the yellow. Let the icing dry. Then, lightly sponge your second color on the cookie. I used orange. Use royal icing to adhere the candy eye on the fish for expression.


This was the fastest technique for cookie decorating. And, I love the result! Start with two shades of pre-made fondant. I used white with a little navy to make the lighter color. Kneed the the light blue and navy together to marbleize the patterned. Roll to 1/8 inch with a fondant roller. Use the cookie cutter to cut out the fondant to the cookie's shape. We used piping gel to adhere the fondant to the cooled cookie. Use the fondant roller to gently roll and stretch the fondant to the size and shape of the cookie. Use royal icing to adhere the eye. Use the larger end of an icing tip to make indentions in the fondant to represent the shark's gills.


I love this shark cookie. I love the marbleized color of the fondant and sharp edges. I think it looks professional. Some people do not like the taste of fondant; it is sweet. I think fondant tastes like marshmallow, so I don't mind it.


I tried decorating cookies with royal icing once before taking this class. There was a learning curve, so here are my helpful tips for successfully decorating iced cookies. Here are my six tips for successful cookie decorating.

1) Completely cool your cookies before decorating, or the icing will melt

2) Cover your prepared royal icing because it will dry out. 
-  If you are coloring your icing, divide it into container and cover with plastic wrap.
-  Keep a damp paper towel over the tips of your icing bags or squeeze bottles.

3) Use a toothpick or scribe tool to get air bubble out of your cookies.

4) Allow your icing to dry for 24 hours before stacking.

5) Practice on a piece of wax paper or parchment paper. When you learn a new skill, there is a learning curve. Most people are not experts when they start something new. That's why we practice. I love watching YouTube videos or videos on Instagram. Then, you can learn a new skill and practice at home.

6) Have fun decorating!


For more recipes, encouragement, and tips for healthy eating, follow me on PinterestInstagram, and Twitter


Monday, September 12, 2016

Cooking Class Part 3


I went to the last cooking class in the three-part series where we learned advanced techniques. The first class in this series review basic techniques. The second class in this series focused on building on the basics.

In the advanced technique cooking class, we made three dishes. The first dish was vanilla bean panna cotta. The second dish was marinated steak with green olive tapenade. The third dish was spaghetti carbonara. And, the final dish was tomato and goat cheese grilled flat breads. This is the order we prepared the dishes, so they would be ready to eat. Spoiler alert; everything was yummy. Let's start at the beginning.

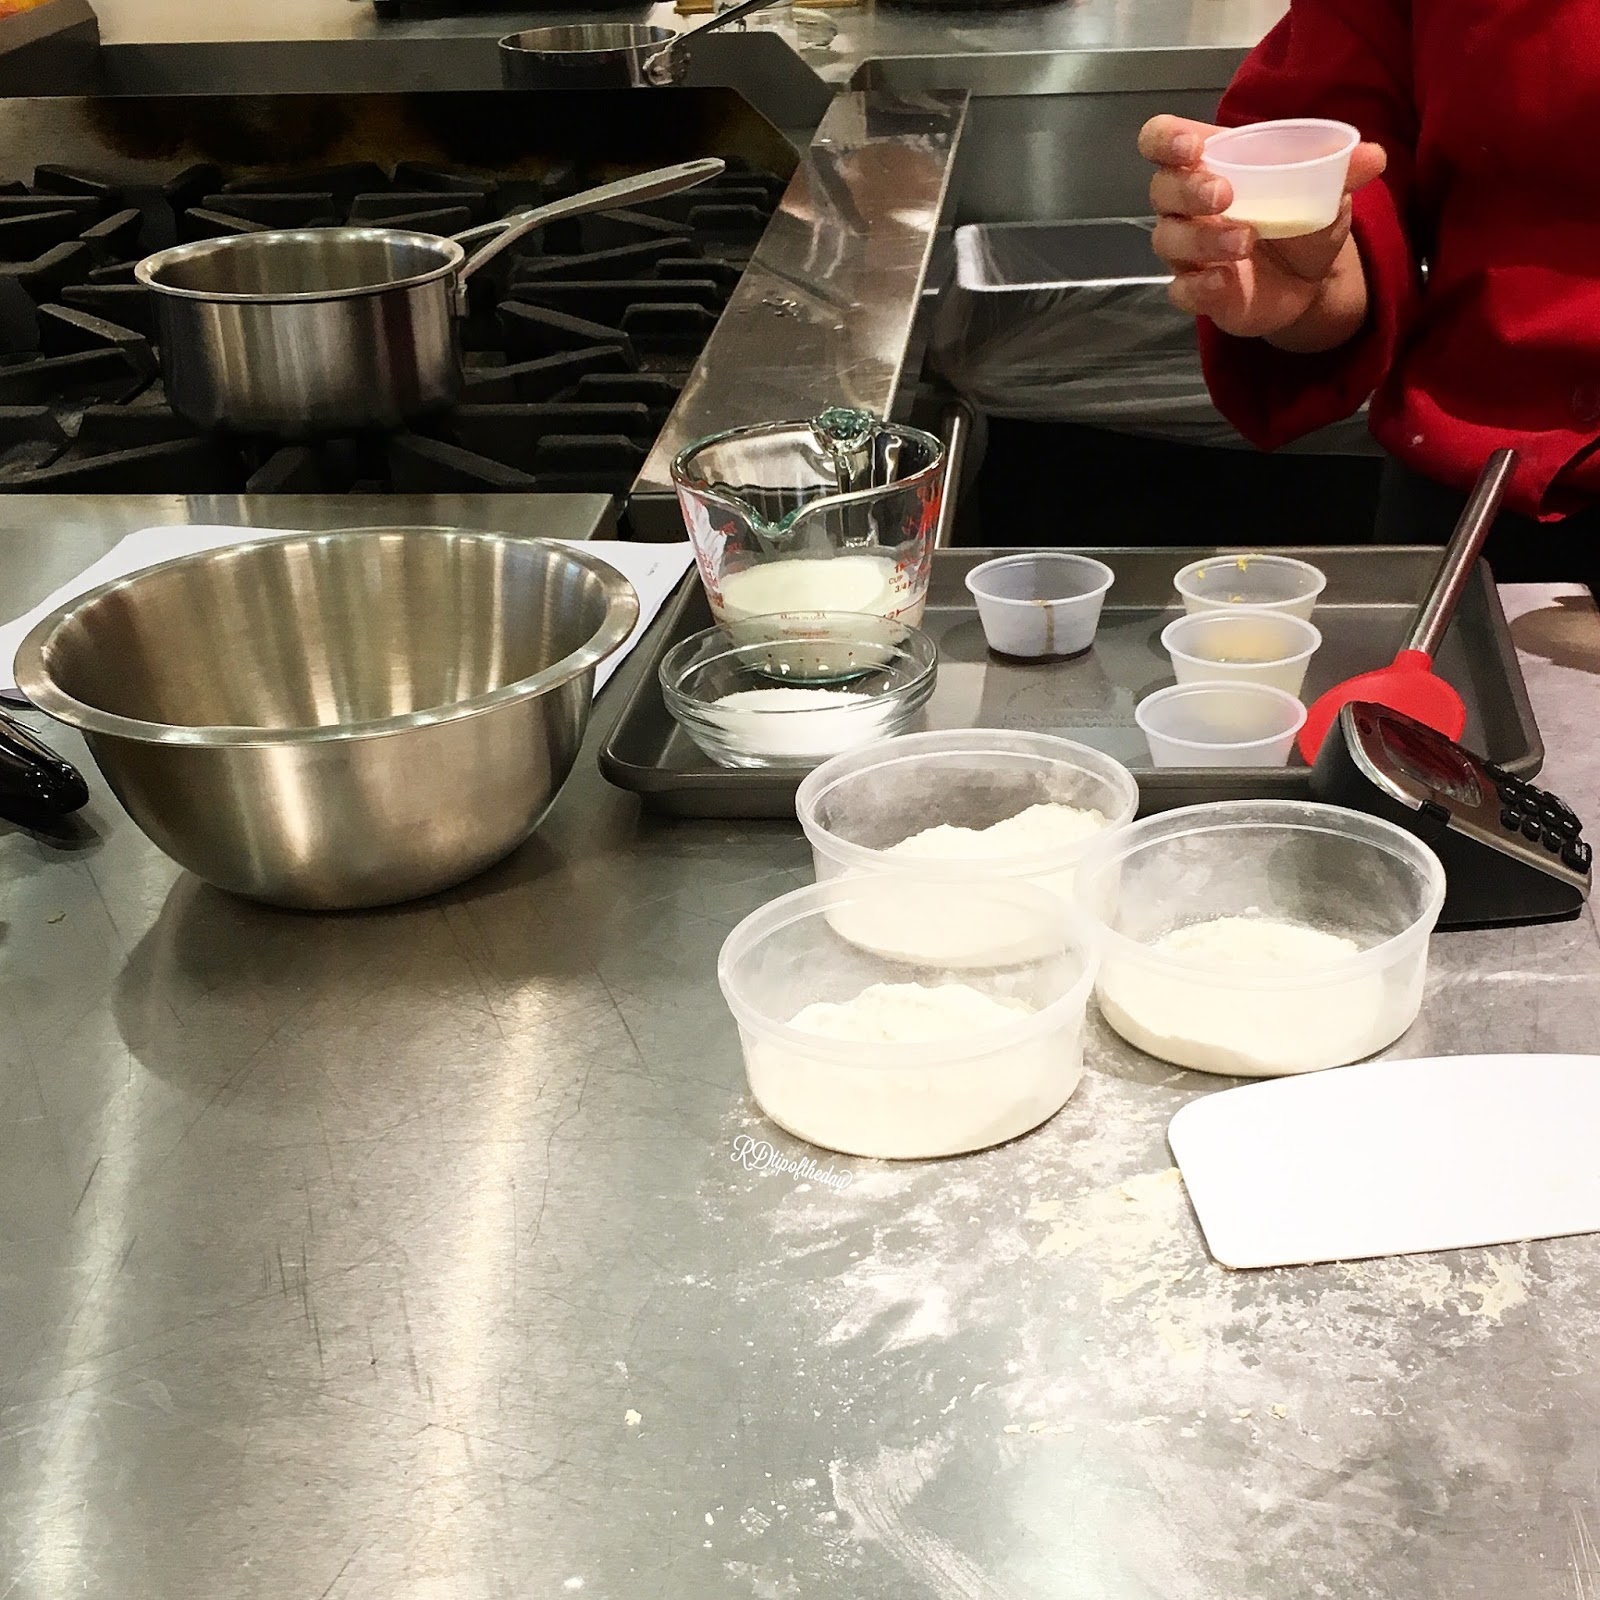
The first dish we made was vanilla bean panna cotta. We measured everything and prepared our mis en place. 


Then, we made combined everything to make vanilla bean panna cotta. Panna cotta is Italian for cooked cream. It is thickened with gelatin, and it's super creamy. If you can stir, you can make panna cotta. Don't let the name scare you off.  I think of it as a delicious grown up gelatin pudding. Ours was topped with fresh, seasonal fruit. 


The second dish was marinated steak with green olive tapenade. We marinated the steak in garlic, red pepper, rosemary, time, and lemon juice and zest. All the flavors came through in a flavorful steak. The lemon and olive tapenade brightened the steak and kept it from being heavy.


The olive tapenade was a simple to make. You roast garlic, which turns garlic cloves into softened, flavor powerhouses. The tapenade was simple to make. You toss pitted green olives, capers, anchovies, lemon zest, vinegar, lemon, basil, roasted garlic, and olive oil into a food processor. Pulse until you form a paste. It's such a rich, bright, acid topping to balance the rich steak. 


The third dish was spaghetti carbonara.  We prepped everything, so we were ready to cook.


You start by crisping bacon and rendering the fat. Drain the cooked bacon on paper towels.  Drain all but 1-2 Tablespoons fat. Sautéed garlic and in rendered bacon fat. 


Boil pasta in salted water. We prepared the sauce by combining eggs, Parmesan cheese, parsley, and garlic. Drain the pasta. Combine pasta and sauce tossing constantly to cook the eggs without scrambling.


The final dish was tomato and goat cheese grilled flat breads. This was my favorite; I've made it a couple times at home. 


Start by making your dough. Boom your best in warm water and sugar. Add flour, salt, and oil. Mix until combined. Knead on a floured surface until the the dough springs back. Let dough rest in a greased bowl covered with cling wrap. Simple, right?


Next, prepare the topping. Chiffonade the basil, Slice the tomatoes. And, mix together room temperature goat cheese with fresh herbs. In class, we used parsley. I also like to use chives for a mild, onion bite. 


How gorgeous are these heirloom tomatoes?


Next, grill your flat bread on a greased grill pan or on the grill.


Flip after a few minutes when the bread has golden brown grill marks.Top with goat cheese, tomatoes, salt, pepper, and basil. Enjoy!


Looks delicious right? I thought this flatbread certainly couldn't be more tasty. 


Then, you add aged balsamic vinegar. It was a sweet, slightly acidic syrup that was the perfect addition to this flatbread. I will warn you that it's expensive: $30/bottle. You don't have to use a lot to make a difference, so the bottle will last you a while. If you like balsamic vinegar, try aged balsamic. So good!


I made a balsamic reduction at home. To make my reduced balsamic, combine 1/2 cup of balsamic vinegar with 1/2 teaspoon granulated sugar. Reduce over medium heat until the balsamic becomes a thick, syrupy consistency. So good!


I encourage you to try something new. Invite a friend. Learn something new. Don't be afraid to try a new recipe, and taste something new! That's it for cooking with class part two.

For more recipes, encouragement, and tips for healthy eating, follow me on PinterestInstagram, and Twitter

SaveSave
SaveSaveSaveSaveSaveSaveSaveSaveSaveSave
SaveSaveSaveSaveSaveSave